


How to Upgrade Your Dorm or Apartment Lighting for Back to School
By Hagan Schmidt, COO & Lighting Expert – 07/27/26
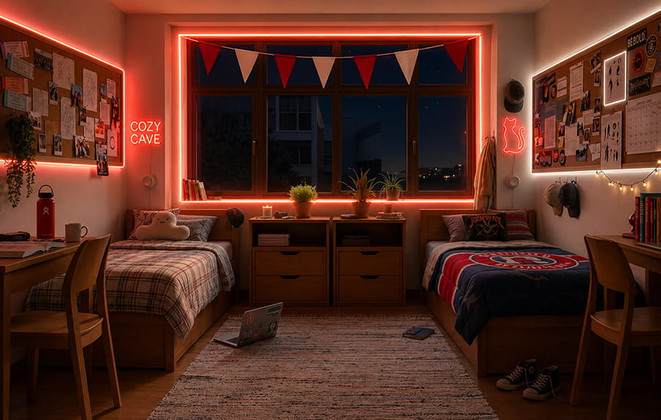
Dorm rooms and apartments often come with harsh overhead lights, dark corners, and limited space. Fortunately, a few well-placed lights can make your room feel warmer, more functional, and more personal without requiring permanent changes.
Use these simple steps to create a better setup for studying, relaxing, and entertaining.
Plan Before You Hang Anything
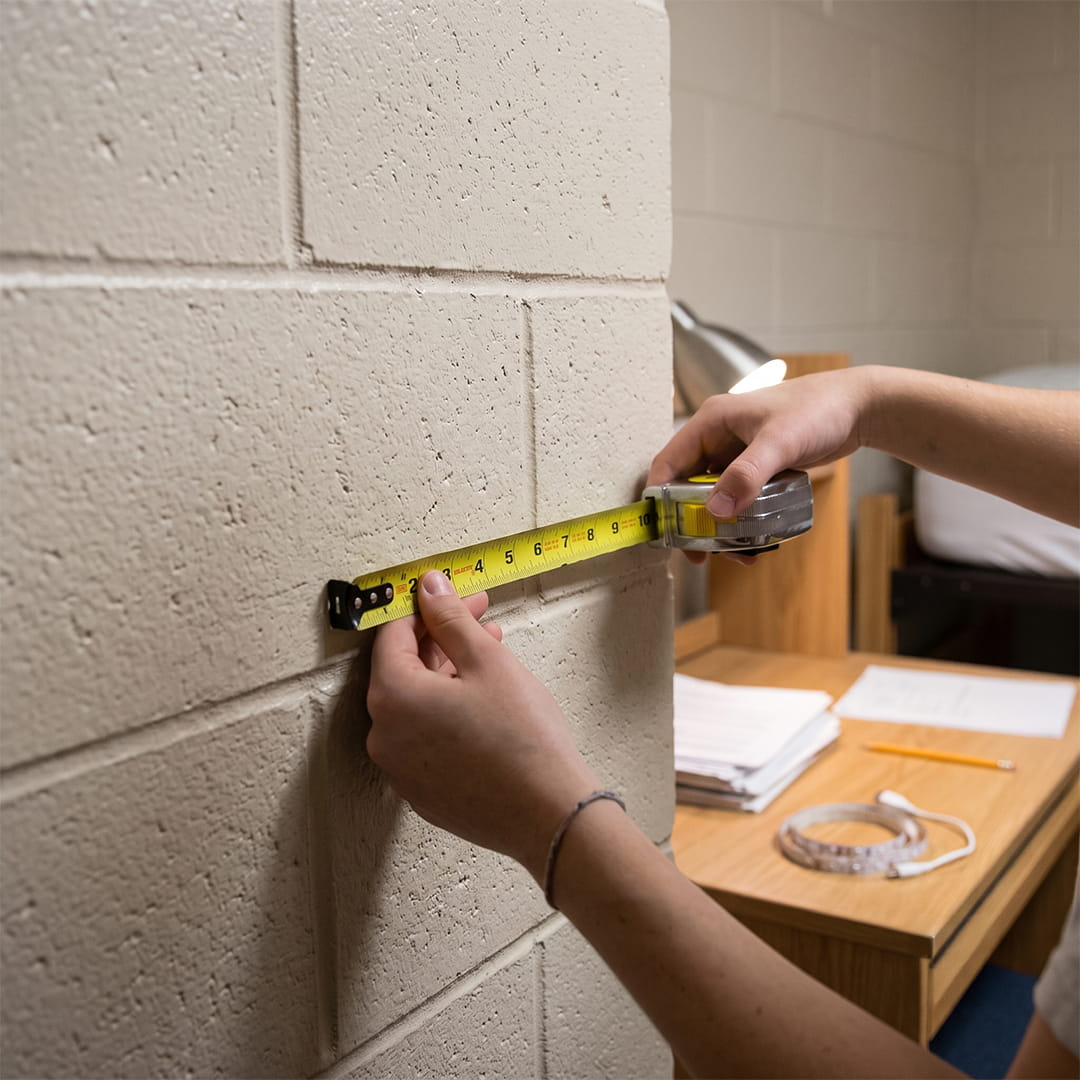
Start by checking your dorm or apartment rules. Some properties do not allow screws, nails, permanent adhesive, or certain extension cords.
Next, measure the areas you want to light and identify nearby outlets. Planning the cord route before installation will help you avoid loose wires and awkward gaps.
Look for areas that need better lighting, including:
- Your desk or study area
- The wall behind your bed
- Closets and cabinets
- Entertainment setups
- Dark corners or shelves
Check out our Pinterest for easy lighting ideas | Birddog Lighting Pinterest
Soften the Room With String Lights
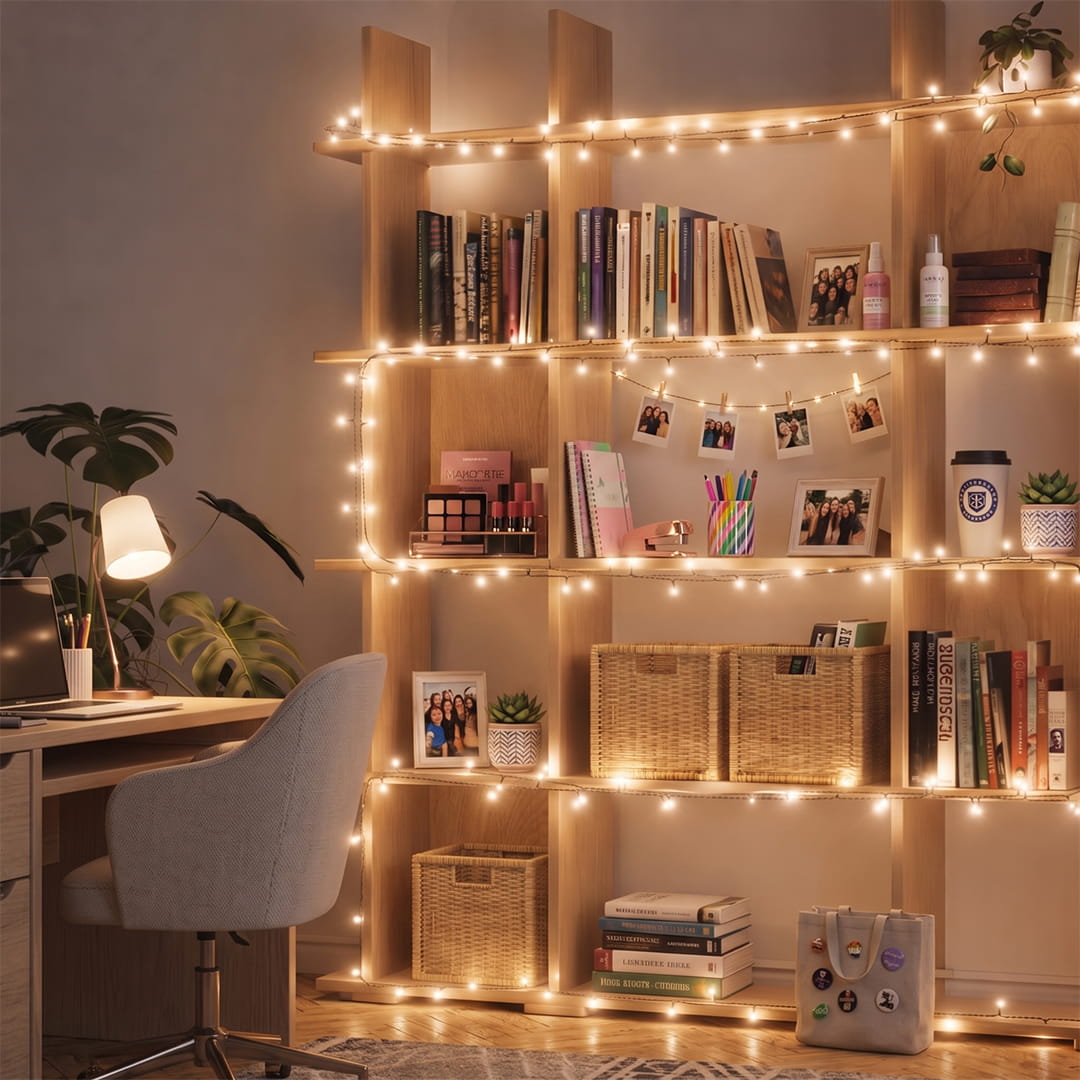
String lights are an easy way to replace the cold feeling of overhead lighting with a warmer atmosphere.
Hang them above your bed, around a window, across an open wall, or along the ceiling. For smaller displays, battery-powered micro LED fairy lights work well around photos, shelves, mirrors, and bulletin boards.
For more color and customization, try smart RGBIC fairy lights.
Use removable hooks or clips when possible, and keep the spacing consistent for a cleaner look.
Cover a Larger Area With Net Lights
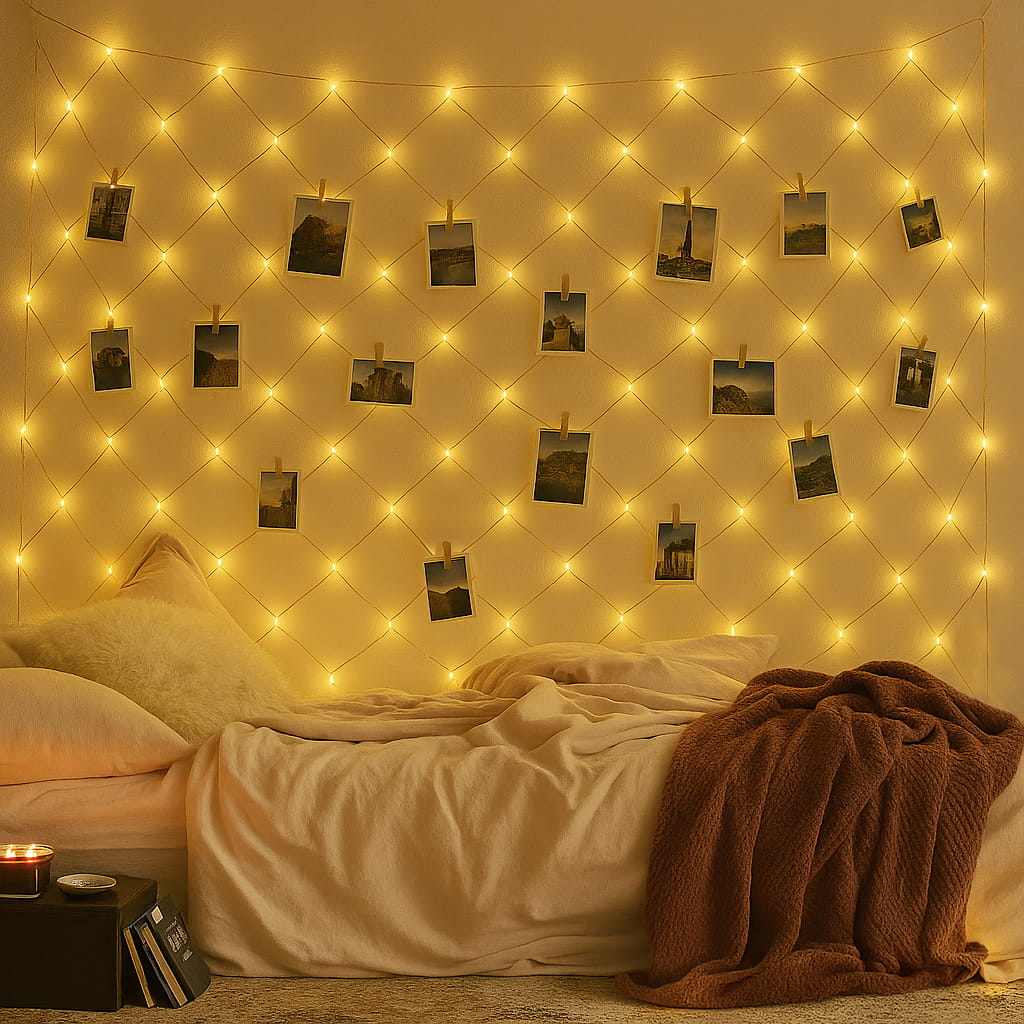
Net lights aren't just for shrubs. They're also a quick way to cover a large dorm or apartment wall with evenly spaced light—without measuring and hanging several individual strands.
Try them behind a bed, across a blank wall, or over a bulletin board to create a warm, cozy backdrop. You can also clip lightweight photos between the lights, as long as you don't cover the bulbs or wrap anything around the wiring.
Our 6.6-foot x 9.8-foot warm white LED net light set gives you plenty of coverage, and the clear wire helps the net blend into the wall.
Here's the trick to getting a clean installation: spread the net out on the floor first, find the corners, and make sure it isn't twisted. Then hang the top edge with removable hooks before securing the sides. Use enough hooks to support the whole net so it doesn't sag or pull away from the wall.
Keep the lights clear of bedding, paper, and anything else that could cover them.
Turn a Blank Wall Into a Backdrop With Curtain Lights
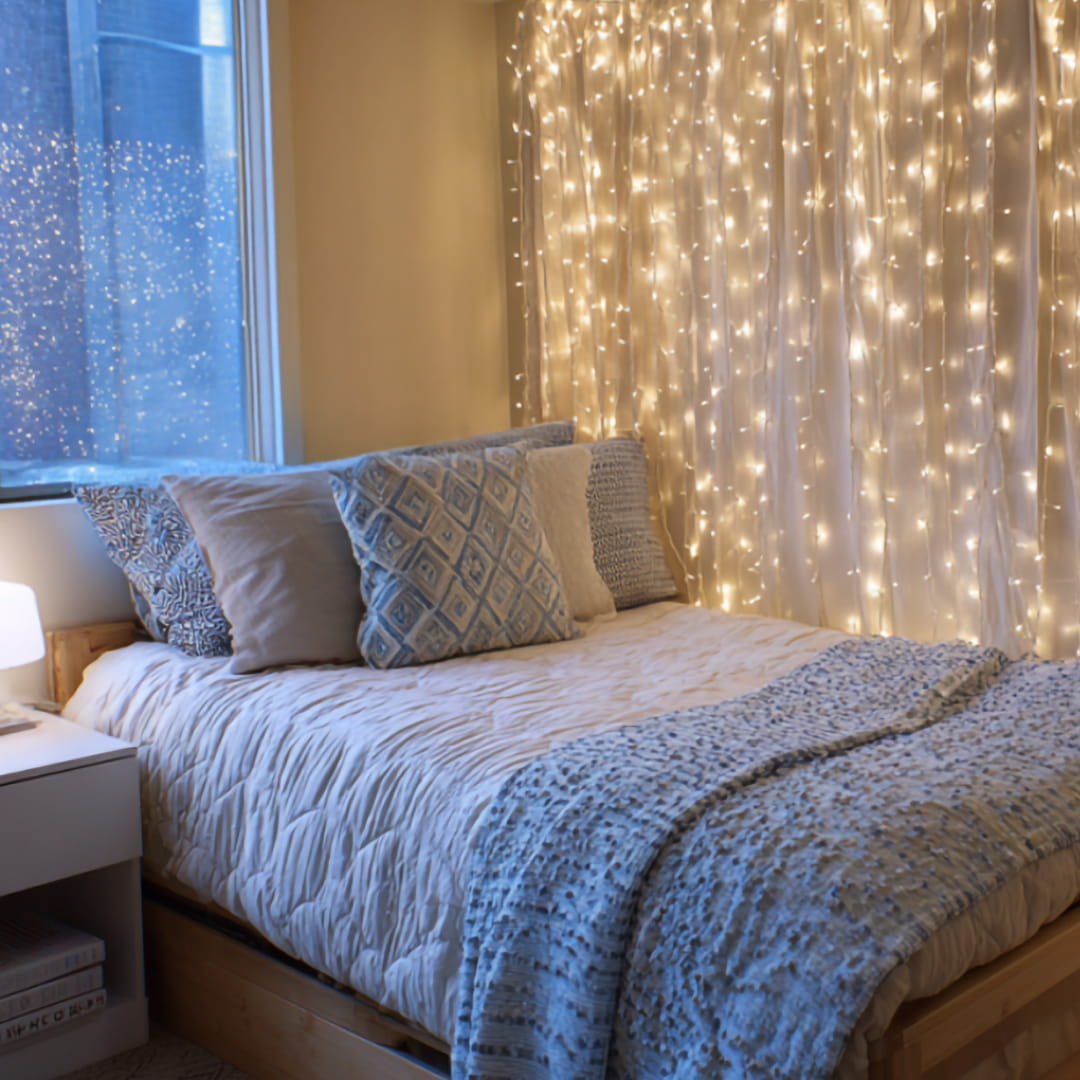
Curtain lights are a good choice when you want more impact than a standard string light. Instead of one strand, they have vertical drops that create a full wall of light.
Hang them behind a bed, across an empty wall, or in front of a window to make the area feel brighter and more finished. They also work well as a backdrop for photos, video calls, or hanging out with friends. Because the LEDs stay cool to the touch, you can also hang them within sheer curtains for a softer, glowing effect—just keep the fabric loose around the lights and wiring.
The 10-foot cool white LED wall curtain lights create a crisp, bright look that works especially well with white, gray, blue, and other cool-toned décor.
Before you start hanging, lay out the main horizontal wire and decide where the power cord needs to end up. Install the top hooks first, then straighten the hanging strands one at a time. Don't worry if the wires have a few bends when they first come out of the package—they usually relax after they've been hanging for a bit.
Add LED Strip Lights Under Furniture
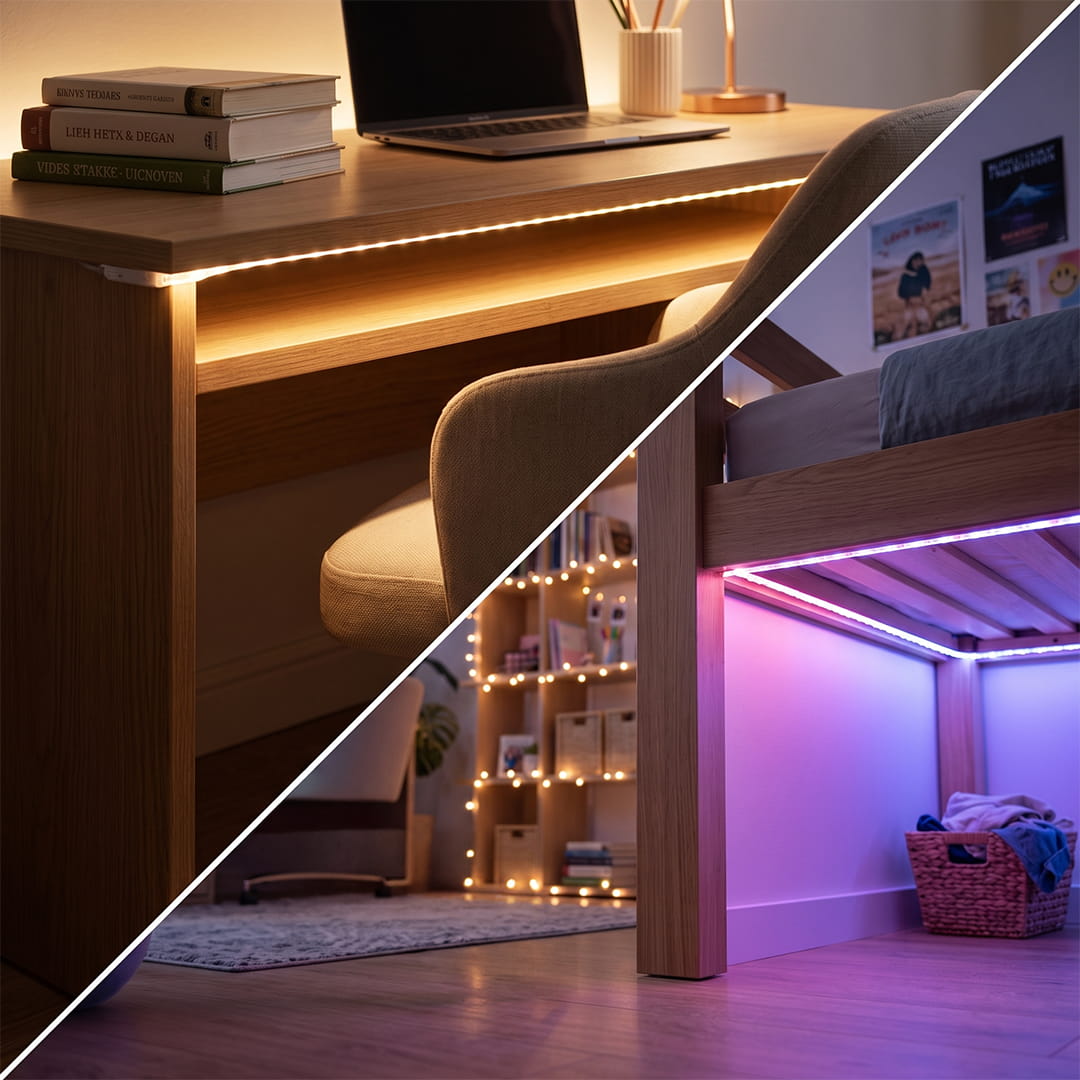
LED strip lights are ideal for adding light without taking up floor or desk space.
Install them beneath a bed, desk, shelf, cabinet, or entertainment center. The light source stays mostly hidden while creating a soft glow around the furniture.
A 12-volt RGB color-changing LED strip light allows you to change the room's color depending on whether you are studying, gaming, relaxing, or spending time with friends.
Before mounting:
- Measure the installation area.
- Clean and dry the surface.
- Test the entire light strip.
- Start near the power source.
- Avoid tight bends around corners.
- Hide loose wires behind furniture.
Browse LED strip light accessories for compatible connectors, controllers, and installation supplies.
Improve Your Study Area
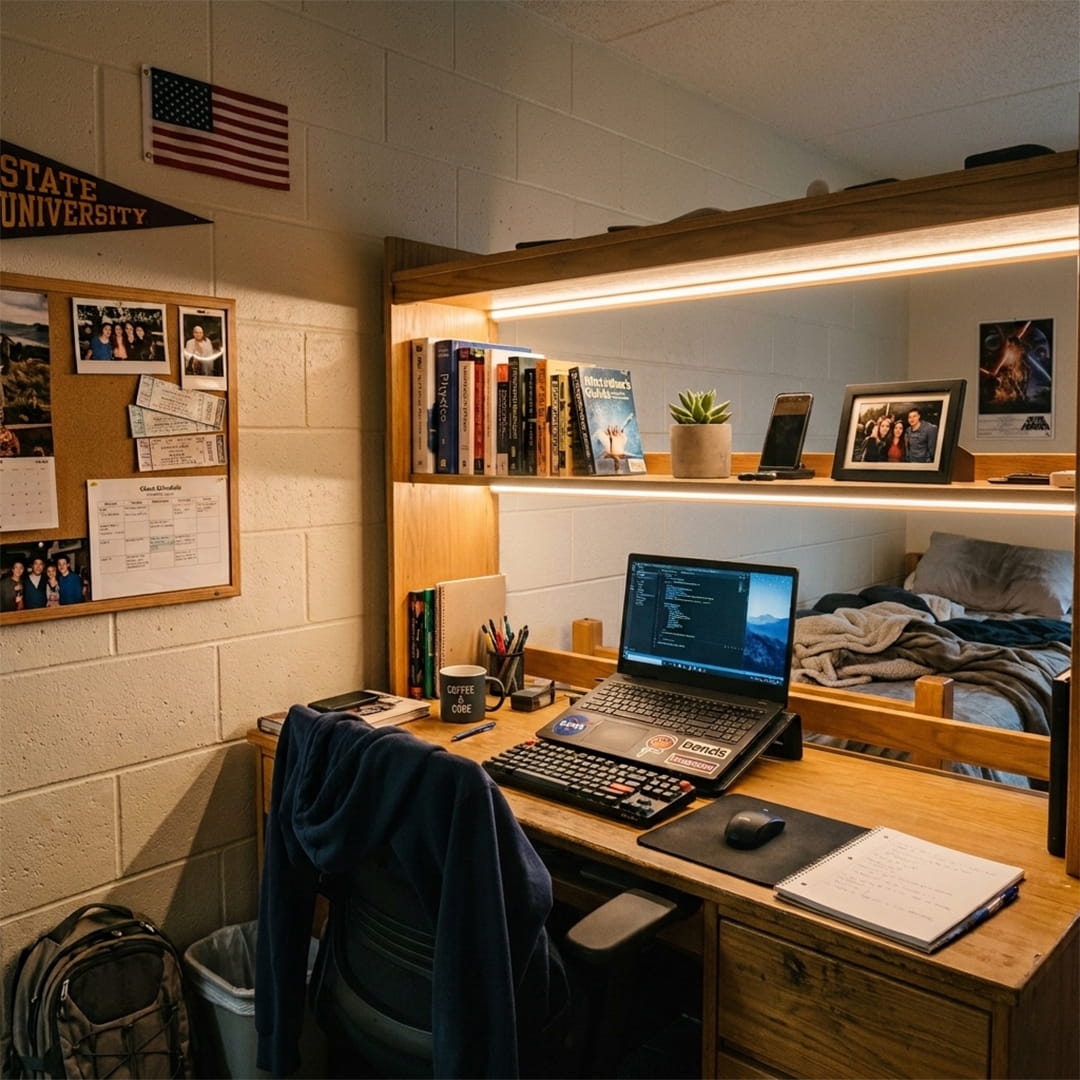
Decorative lighting is useful, but your desk still needs bright, focused light for reading, writing, and working on a computer.
If your desk sits beneath a shelf, consider installing a 24V FCOB Strip Light above the work surface. FCOB lighting creates a smooth, even line of light without the visible dots you may see with a standard LED strip, making it a good fit for task lighting.
Position the light near the front edge of the shelf so it reaches your keyboard, books, and notes without shining directly into your eyes. If you use a laptop or monitor, test the placement before mounting to make sure the light does not create glare on the screen.
For the cleanest setup, measure the shelf first, plan where the power cord will run, and wipe down the mounting surface before installation. The same approach can be used beneath kitchen cabinets, inside a work nook, above a craft table, or over an apartment coffee bar.
Light Up Closets and Cabinets
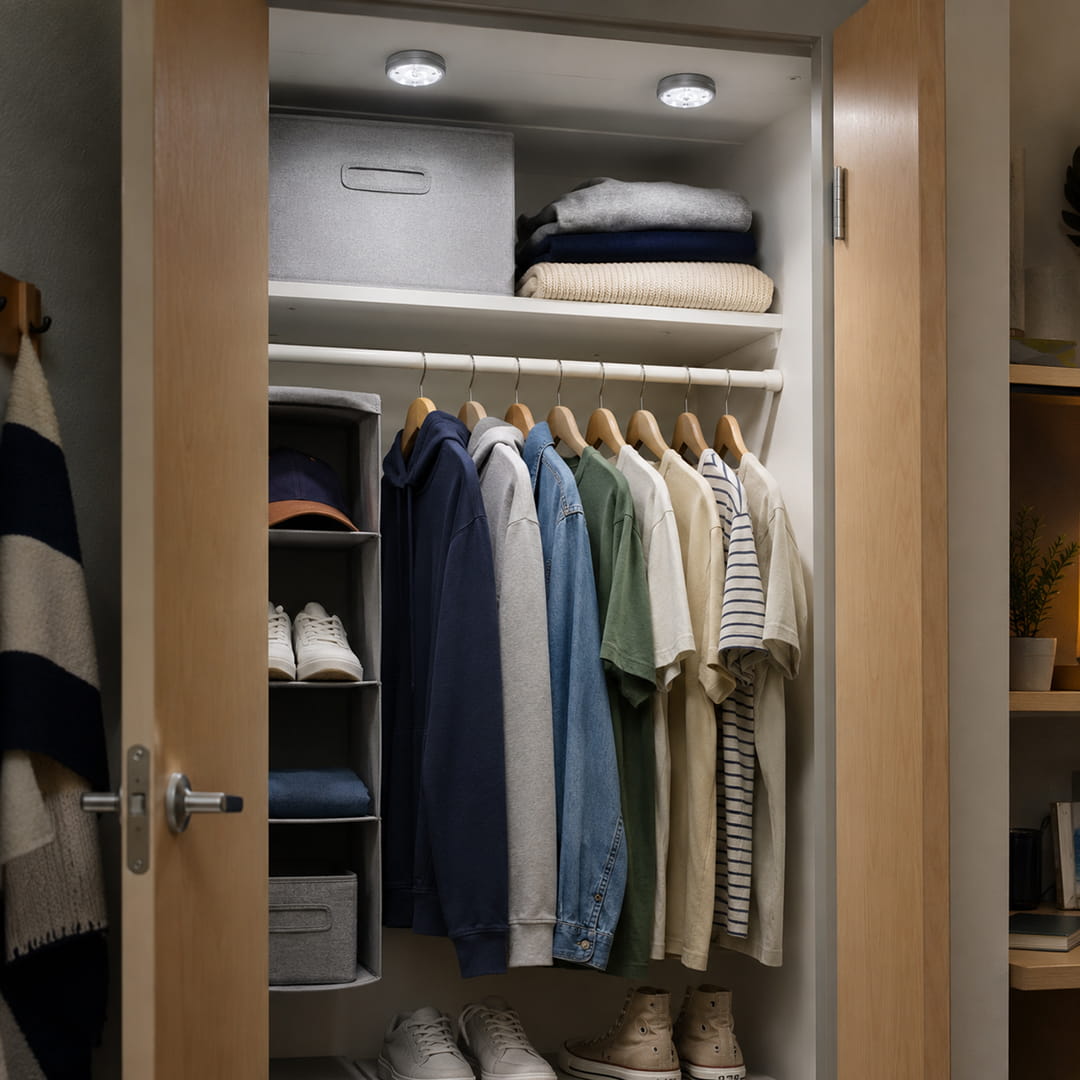
Closets and storage areas often have little or no built-in lighting, which can make it hard to find clothing, shoes, toiletries, or school supplies.
Battery-operated stick-on puck lights provide a simple way to add light inside closets, cabinets, bookshelves, bathroom storage, and entryway organizers. Since they do not require wiring or a nearby outlet, they are especially useful in dorm rooms and rentals.
Place the lights near the front of the shelf or at the top of the closet so the light shines down and forward instead of getting blocked by stored items. Before sticking them in place, hold each light where you plan to mount it and test the coverage.
Clean and dry the surface first so the adhesive holds properly, and choose a spot where you can easily reach the light or remove it when the batteries need to be replaced.
Add Color and Movement With Dream Color Neon Rope Light
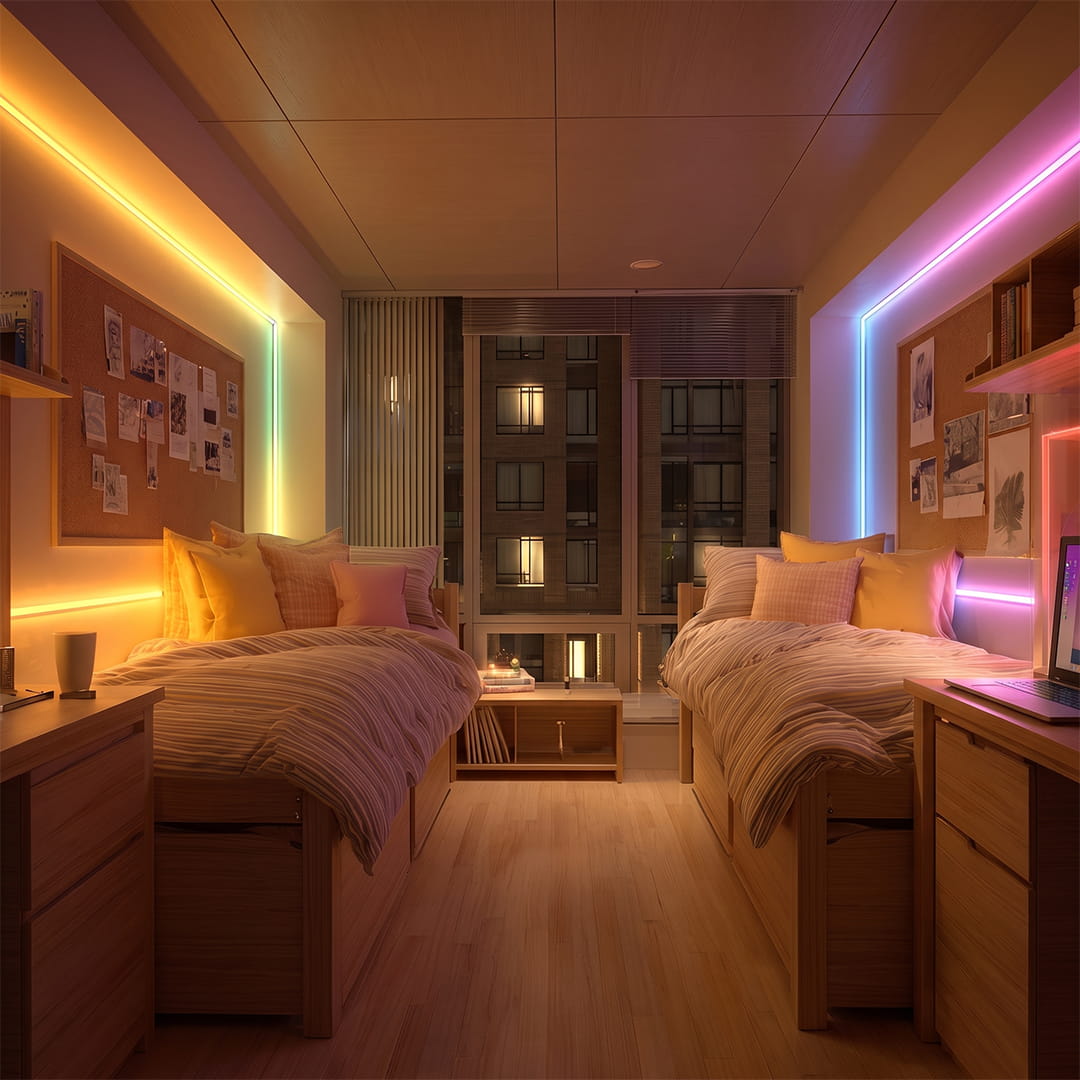
When you want something bolder than standard strip lights, Dream Color neon rope light gives you a smooth line of color along with animated and chasing effects.
Use it to frame a bulletin board, outline a gaming or entertainment setup, run along a shelf, or create one simple design above the bed. You can choose a steady color for everyday lighting, then switch to a moving effect when you want the room to feel more energetic.
The 24V Dream Color color-changing and chasing neon rope light has a diffused outer housing, so you see a continuous glow instead of a row of individual LED dots.
Before mounting it, unroll the full length and test it with the compatible controller and power supply. Plan your route from the power source, and avoid tight corners or sharp bends. Neon rope light is flexible, but it still needs a gradual curve to sit properly and avoid damaging the internal components.
One well-planned outline usually looks better than running color around every edge of the room. Pick a focal area and let the light do the work.
Make Your Lights Easier to Control
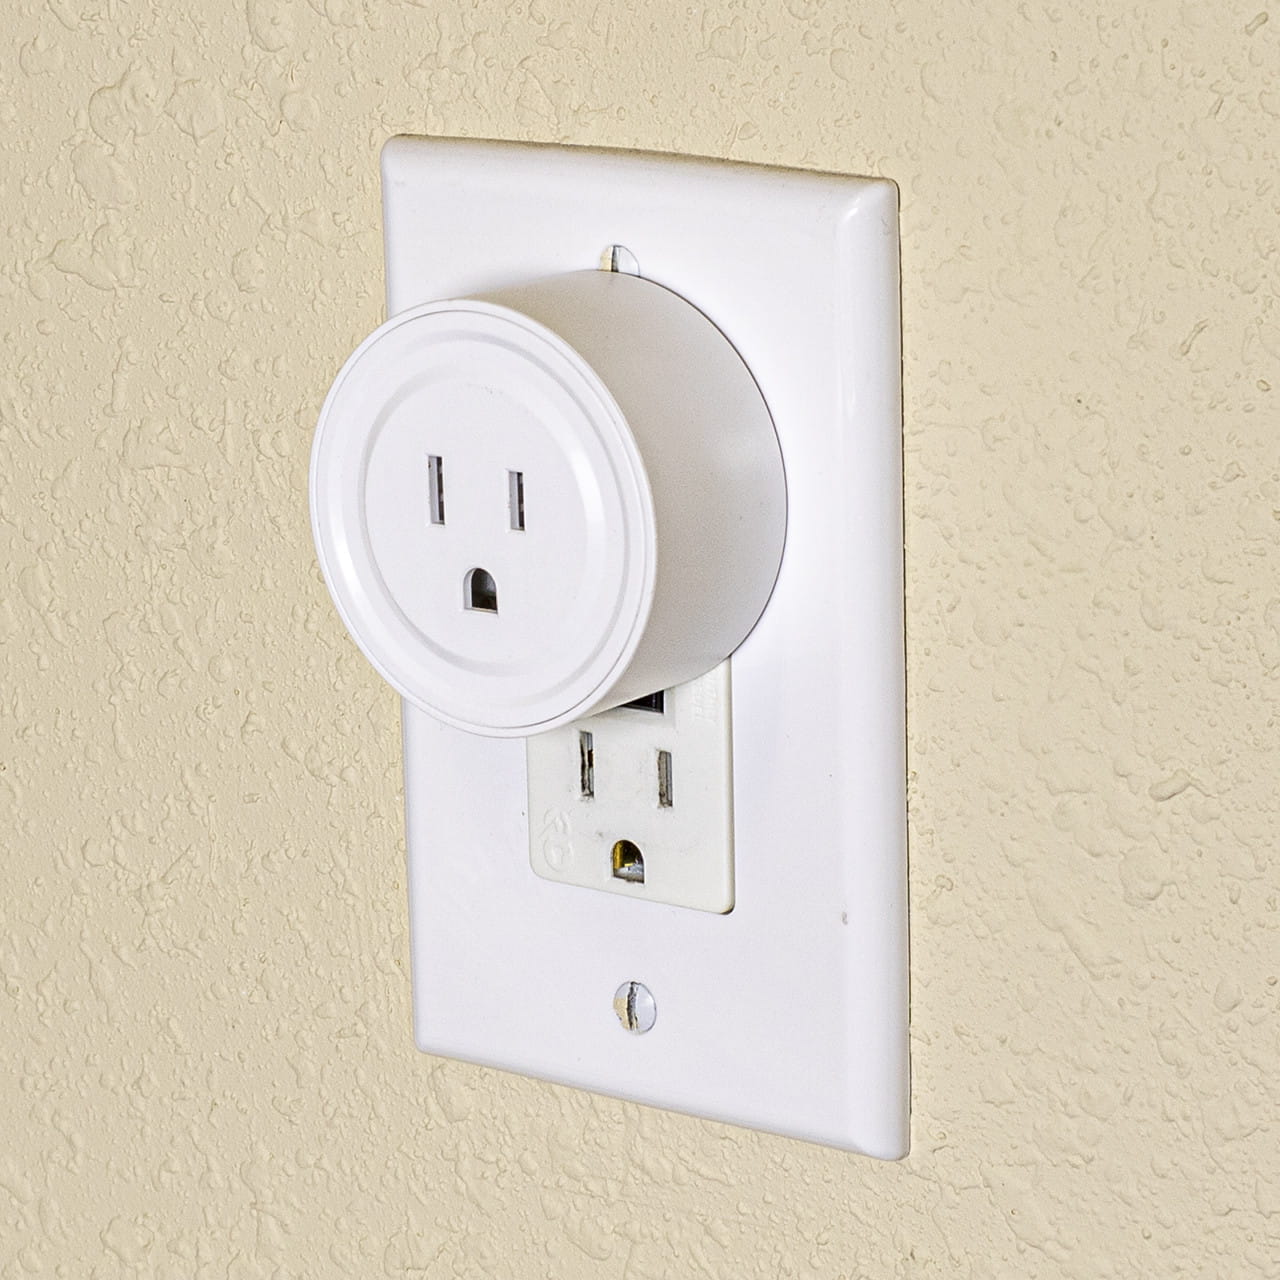
Lights installed behind furniture can be difficult to unplug each night.
A Wi-Fi smart socket outlet can make compatible plug-in lighting easier to control through an app or supported voice assistant.
You can also create schedules so your lights turn on before you return home and shut off automatically at bedtime.
Keep the Installation Clean and Safe
Test all lighting before mounting it, keep cords away from walkways, and avoid running wires beneath rugs or through doorways.
Do not cover powered lights with bedding, clothing, paper, or decorations. Use compatible power supplies and accessories, and keep indoor-rated products away from wet areas.
With a little planning, string lights, LED strips, task lighting, and small battery-powered fixtures can completely change how your dorm room or apartment looks and functions.
Explore Birddog Lighting to start building your back-to-school setup.