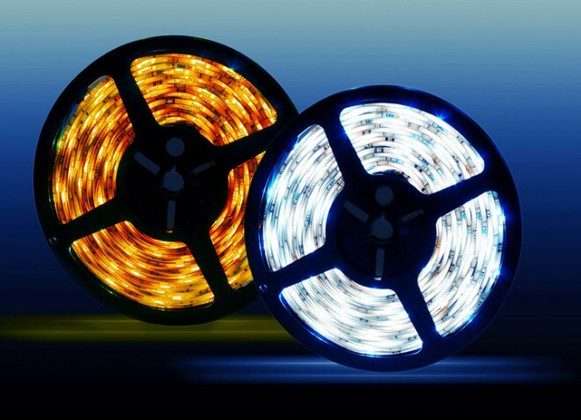
Using a Motion Sensor with Your LED Rope Lights
By Hagan Schmidt, COO & Lighting Expert – 05/13/17
Perhaps you’ve had your LED rope lights for a while. You love that they’re brighter, conserve more energy, and are safer to have in the house.
However, as with all lighting fixtures, proper placement of your lights can be tricky.
We offer one easy, hassle-free solution to finding the perfect spot for your LED rope lights: motion sensors.
Combining a motion sensor with LED lighting offers many benefits. The items needed to assemble are affordable and easy to find.
You may be thinking, “But wait, I am not very tech savvy.” If that’s on your mind, this post is for you!
We have broken down exactly what you need to purchase. And we’ve outlined the steps you need to take so you can have rockin’ LED rope lights that turn on whenever you enter the room.
Read below to learn how to use a motion sensor with your LED rope lights.
Uses of Motion Sensors Paired with LED Rope Lights
These sensors can make a lot of your day-to-day activities much easier. You won’t have to worry about tripping in the dark before you reach the switch or wasting battery and energy on a lamp.
Apply beneath a bed frame or dresser to avoid turning on a light when your partner is sleeping. Instead of accidentally waking your children up when you check on them, your LED rope light can brighten the room without the disturbance.
Another great use of pairing motion sensors to LED rope lights is underneath and inside cabinets and pantries. Avoid fumbling around and knocking over items in dark areas with your movable light fixture.
There are dozens of ways your lights and motion sensor can be used. Consider placing a string on the outer lining of your tent during a camping trip or even the inside frame of your vehicle’s trunk.
How to Apply Motion Sensors to LED Rope Lights
The application process is simple. You will need four items: a Passive Infrared Motion Sensor (PIR), LED rope lights, power supply from a suitable battery pack, and adhesive double-stick tape (if not already apart of your LED rope lights).
Determine what battery type the motion sensor requires. Commonly, PIR’s require battery packs which are batteries inside a plastic casing.
Your source of power, presumably the battery pack, should have two wires attached that connect to the motion sensor.
Your LED runs through a microcontroller which will identify when the switch is turned ‘On’ or ‘Off’. Manipulate the microcontroller to wire the motion sensor.
Open the controller and locate the integrated circuit attached to the power rails. The circuits will need to be disconnected. Attach your motion sensor/battery pack wires instead.
Before attaching the battery pack to the circuit power board, solder the wires so they’re able to insert and remain in place. Cut the wires to 3 inches.
Attach your wires to the proper circuits.
In some instances depending on your PIR, you may need to reprogram the microcontroller to perform the desired functions.
After attaching the power source to the motion sensor, mount these items to the LED rope lights. Use an adhesive.
Remove the adhesive backing and attach the battery pack to the LED rope lights. Place the motion sensor and battery pack wherever is most convenient.
After attaching, mount the motion sensor to the wall and the LED rope lights. We would recommend determining where you want to place your LED lights before attaching the motion sensor so you can get a better feel for where you’d like it to go.
Depending on the battery pack it may last up to 100,000 hours.
What will you use your LED rope lights for?
If you need more inspiration check out our blog where you’ll find some great suggestions including decorating for the holidays and designing your man cave.
What suggestions do you have for assembling LED light fixtures so they can work in junction with motion sensors? Have you put together an awesome space thanks to LED rope lights? Comment and share below!
Also, we love to see how our LED lights are being put to use. If you have a custom lighting project that involves Birddog LED lights, submit it to us here so you can show off your project.


