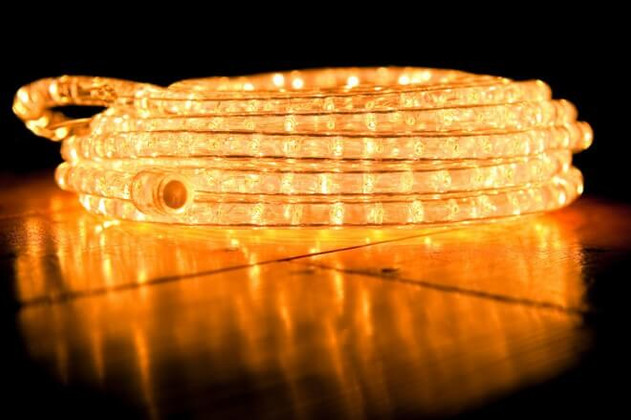
How to Cut LED Rope Lights
By Hagan Schmidt, COO & Lighting Expert – 11/30/16
Rope lighting is an extremely versatile product. Not only is it a viable source of illumination in the home, but it’s also a fun alternative to everyday lighting options like standard, overhead domes or table and floor lamps, just for example.
You can use options like LED rope or strip lights to spice up your decor for any holiday. Rope lighting comes in a variety of colors and you can bend it to follow curves or twist it into designs. You can create decorative shapes or even words for displays. There’s no end to the imaginative ways you can employ this handy light source both indoors and out.
Perhaps one of the best features of rope lighting is the fact that you can save money by purchasing it in bulk to use it for projects large and small. Of course, you will have to cut it in order to get the precise length you need for a given project.
If you’re not terribly familiar with electronics, this may give you pause, and with good reason. Nobody wants to risk hazards like electrocution or starting a fire. However, with proper safety precautions, tools, and instructions you should have no trouble cutting and arranging your rope lights. Here are a few basics to put you on the right track.
Safety First
It’s important to understand a few safety rules any time you’re tinkering with electronics. For starters, you should never cut rope lighting that is plugged in, even if it isn’t on. This could lead to dangers like electrocution.
Next, you need to check and double check that all of the components you’re using are for the same electrical load. If you fail to match up load ratings for any of the parts in your circuit, you could cause them to overload when you plug in your finished product. This could blow fuses, or worse, create sparks and start an electrical fire.
If you’re diligent, you should never encounter such issues. Just in case, you may want to wear safety goggles and gloves when working with electronics and keep a properly rated fire extinguisher handy.
Procuring Parts
In many cases, your rope lighting will come with a power kit. The power supply may already be hooked up to one end of the rope. If you’re planning to cut several pieces to place in different locations, however, you might need additional power supplies.
There are a few things you should pay attention to. First and foremost, you need to make sure the power supply you get matches the load for the rope light you’re using. For instance, check whether it’s 12V or 120V, just for example.
You should also check the number of wires in your rope lighting as it may feature two wires or five. You want to make sure that the supplies you get match up. Any power sources, connectors, or caps you use should match the specs of your rope lighting.
Cutting
When it comes time to cut your rope lights, you’ll find the process pretty simple. Still, there’s a little more to it than cutting, say, a cucumber. You’re going to need a cutting board (or you can use a work bench if you have one) and a utility knife or sharp scissors.
When cutting with a knife, always cut away from your body, to the side, instead of toward yourself. This way if the knife slips you won’t have an unfortunate accident. The only real trick to cutting rope lighting is that you have to cut cleanly through the wires. This is why a sharp cutting implement is necessary.
Connecting
Once you’ve cut your desired length of rope lighting, it’s time to connect it, either to a power source or to another section of rope lighting. Either way, you’ll start by loosening the nut on your connector. In some cases, it comes off and slides over the end of the rope light – in others it slides back on the connector.
From there you need to line up the pins on the connector with the wires in your rope light. Don’t worry if you line them up backward. In that case, all that will happen is your lights won’t turn on when you plug them in, and you can remove the connector and flip it.
Make sure to push the connector pins all the way into your cut section of rope lights so that they connect to the wiring. Next, screw the nut into place to secure the connector to the rope. Now your power source is connected, or your connector is ready to attach to the next section.
If you’ve cut your light and you don’t intend to attach it to anything, then you need to cap it off for the sake of safety. A simple plastic cap that slides over the end will do the trick.
Whether you use rope or strip lights around the house to highlight architectural features, decorate for holidays, or simply add illumination, customization is easy when you safely and properly cut, connect, and cap your lighting.


