


How to Hard Wire LED Strip Lights
By Hagan Schmidt, COO & Lighting Expert – 09/21/26
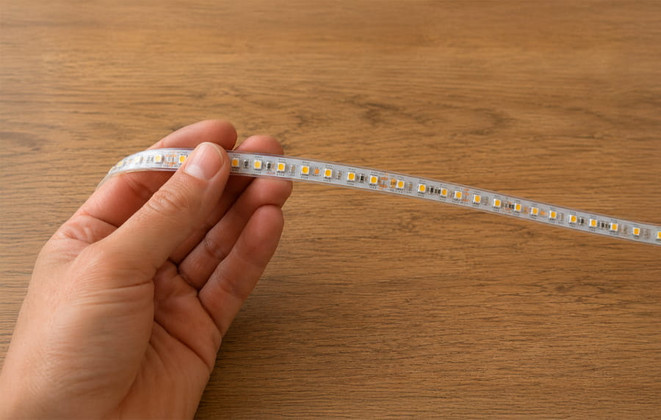
Have you ever walked into a dark theater in the middle of a movie? Then you've seen the power of LED strip lights in action. They've become one of the most popular lighting solutions – and it's easy to see why. If you're at the stage where you’re planning to hardwire low voltage LED strip lights in your home, business, or outdoor space, you're probably already familiar with their benefits, from looking great to using significantly less energy than traditional incandescent lighting.
Before hardwiring LED strip lights, choosing the right power supply is one of the most important parts of your project. In this guide, we'll show you how to choose the correct power supply and how to hardwire low voltage LED strip lights, so you can install everything safely from start to finish.
Jump to:
Before You Install Your LED Strip Lights
Taking a moment to plan your project will help you choose the right products, accessories, and make the installation much smoother.
Before installing your LED strip lights, consider:
1. Where You’ll Be Installing Your Lights
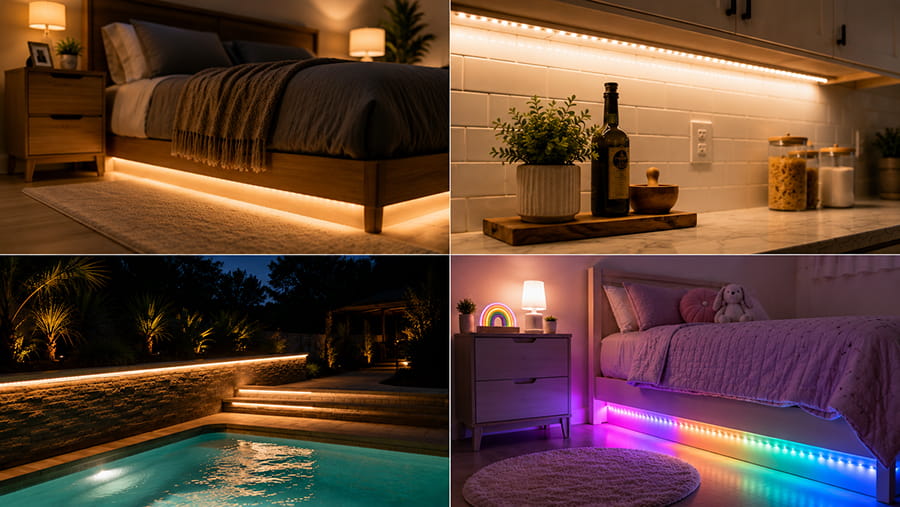
Measure the space where you’ll be installing your LED strip lights. You'll need the total length so you can start your project without running out.
LIY (Light It Yourself) Tip:
If you're using LED strips in different areas of your home, measure each run separately so you can calculate the total length required before cutting each strip to size.
2. Where Your Nearest Power Source Is
Once you know where you're installing your lighting, check where the nearest electrical connection or circuit is located. This will help you plan how you'll hard wire your LED strip lights and where you'll position the power supply.
LIY (Light It Yourself) Tip:
It's important to know whether the installation is indoors or outdoors, as this will determine the type of power supply you'll need.
3. What Functions Your Lights Require
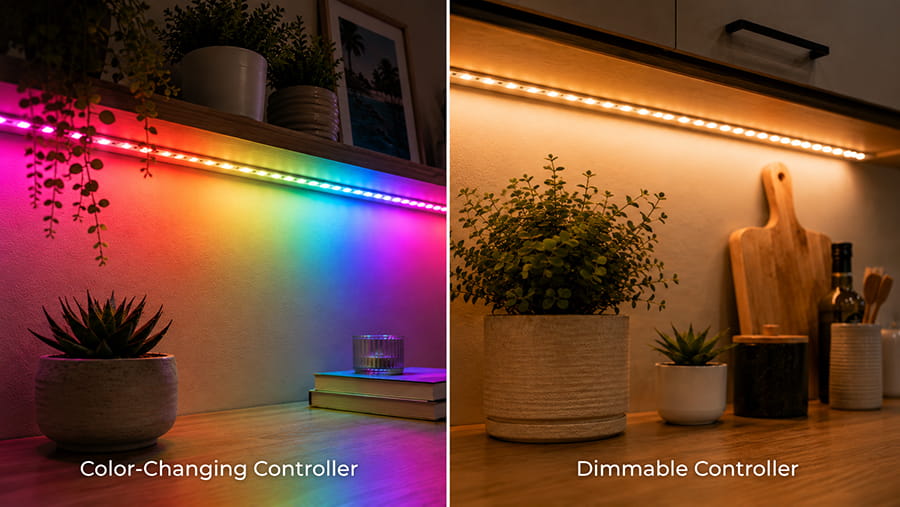
Think about how you want to control your LED strip lights. Whether youwant a simple switch, dimmer or Bluetooth lighting controller, deciding this now will help you choose a compatible controller before you begin wiring everything together.
If you're still deciding which LED strip lights are right for your project, take alook at our LED Strip Lights Buying Guide before you get started.
Choosing the Right Power Supply
Before hardwiring anything, you'll need to make sure your power supply matches the voltage and electrical requirements of your LED strip.
Step 1: Match the Voltage
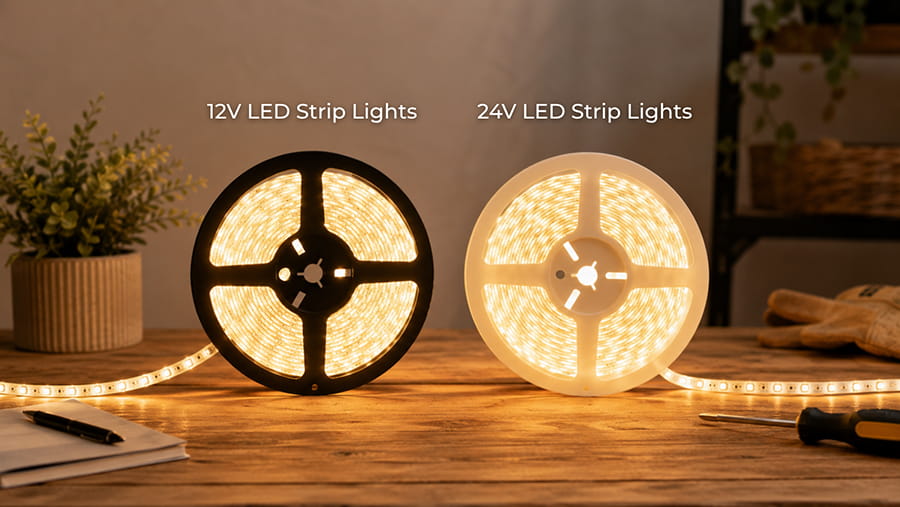
Typically, low voltage LED strip lights come in two options: 12V and 24V. Your power supply must match the voltage of your strip lights. Using the wrong voltage could damage your lights or be unsafe.
12V LED strip lights are ideal for:
- Small spaces and projects
- Short lengths of lighting
- Adding a decorative glow (under cabinets, shelves, or furniture)
- DIY home projects
24V LED strip lights are better suited for:
- Longer lengths of lighting
- Larger rooms and spaces
- Business or commercial buildings
- Bigger lighting projects
LIY (Light It Yourself) Tip:
The brightness of the lights does not depend on the voltage, but instead, depends on the quality of the LEDs and the strip’s wattage – not whether it’s 12V or 24V.
Step 2: Calculate Your Power Requirements
Example: 25ft x 5W/ft = 125W
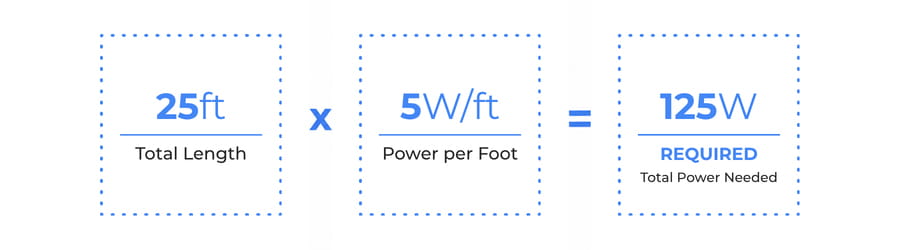
Every LED strip light uses a certain amount of power, measured in watts per foot. Check your product specifications or packaging to find the wattage per foot, then multiply it by the total length of the LED strip you’ll be installing.
This is the total amount of power your hardwired LED strip lights will require
Step 3: Choose a Power Supply with Extra Capacity
Example: 125W × 1.2 = 150W minimum → Choose the next standard size (180W)
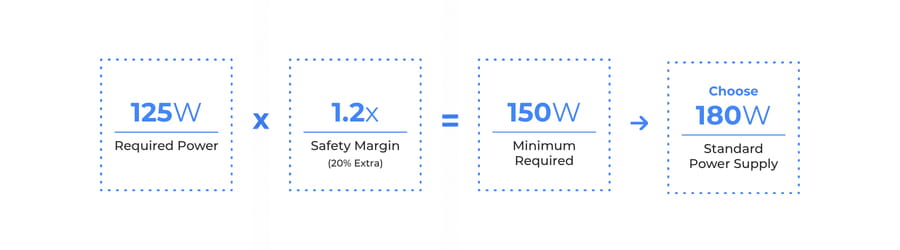
Once you’ve calculated the total wattage, it’s always recommended to allow for extra capacity when choosing a power supply. A good rule of thumb is to choose one with around 20% more capacity than your calculated wattage.
Having extra capacity helps your power supply to run more efficiently, reduces the strain on the unit, and can improve long term performance.
Step 4: Calculate the Required Amperage
Amps measure the amount of electrical current flowing through a circuit. Your power supply should provide at least this amount of current to operate the strip correctly. Luckily, it's easy!
To calculate the minimum amperage required: Watts ÷ Voltage = Amps
Example: 125W ÷ 12V = 10.4 amps
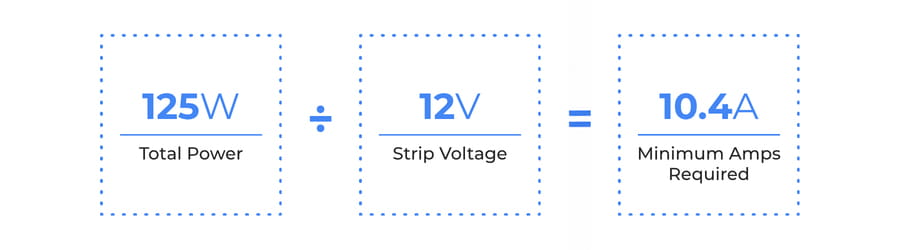
Choose a power supply that can provide at least 10.4 amps. If your power supply can't deliver enough current, longer LED strip runs may appear dim or shut off.
LIY (Light It Yourself) Tip:
If you'd rather skip the math, use our Total Amperage Calculator to calculate the requirements for your project.
How to Hard Wire Low Voltage LED Strip Lights
Now that you've chosen the right power supply and worked out your electrical requirements, it's time to put everything together. Local electrical codes vary, always verify requirements or consult a licensed electrician.
You’ll typically need:
- 12V or 24V LED strip lights
- A compatible power supply
- A controller, dimmer, or switch (if you're using one)
- LED strip connectors or soldering equipment
Step 1: Prepare and Connect the LED Strip
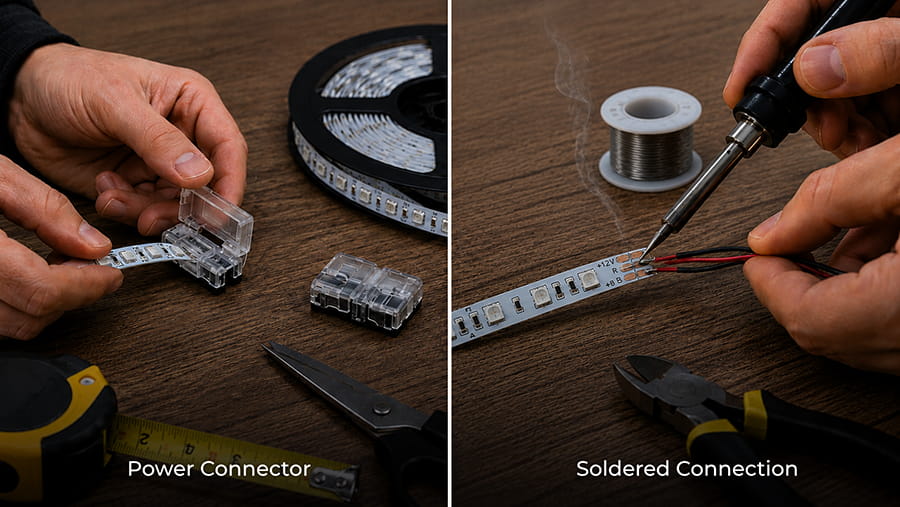
Some LED strip lights come with a plug attached. Many low voltage strip lights do not. Some projects don’t require the entire length of strip. That means you'll need to cut it to length and reconnect it. (This may sound complicated, but it isn't!)
Cutting Your LED Strip Light
To cut your LED strip, look for the cut symbol marked with a scissor line. These can be found at different points on the strip. Simply measure, then cut on the nearest line.
LIY (Light It Yourself) Tip:
Measure twice before cutting. It's much easier to shorten a strip than replace one that's too short.
Connecting Your LED Strip Light
Once you've cut the strip to length, it's ready to be connected as part of your hardwired installation. There are two common ways to do this.
- Power connectors are the easiest option. Simply slide the strip into the connector, making sure the contacts line up, then close the clip.
- Soldering creates a more secure/permanent connection. It takes a little more time and experience, but it's a great choice for installations that won't be moved.
Step 2: Connect the Controller and Power Supply
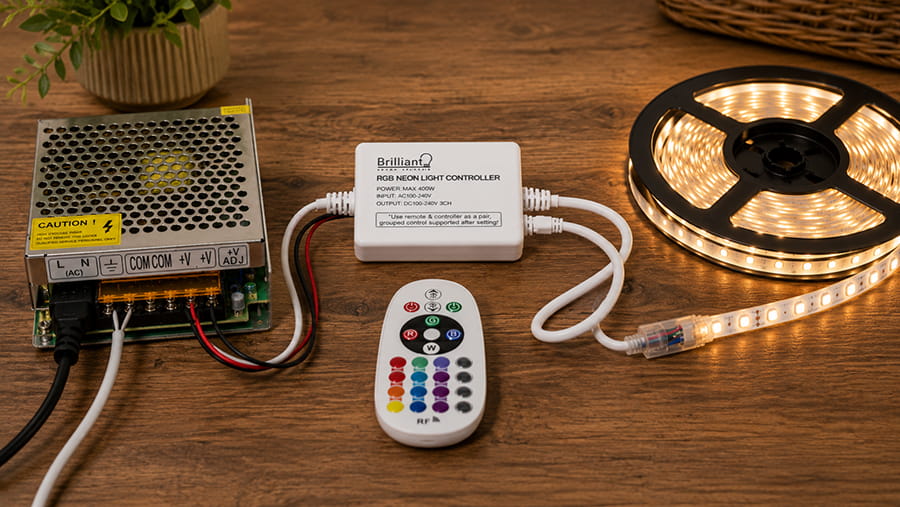
Before connecting your system to the main power supply, it's generally a good idea to connect and test the low voltage components first.
Depending on your setup, this may include:
- Dimmer
- Switch
- Controller
Connect the LED strip, controller and power supply according to the manufacturer's wiring diagram. Double check that the positive (+) and negative (-) terminals are connected correctly (reversing them is one of the most common reasons LED strips don't work the first time)!
Before moving on, temporarily power up the system and make sure everything is working as expected.
Here’s what you might want to test:
- Power
- Dimming
- Color changing
- Remote control
- Smart features
LIY (Light It Yourself) Tip:
It's much easier to fix a loose connection while everything is still on the bench than after you've mounted the lights.
Step 3: Hard Wire the Power Supply
Once you've confirmed everything is working, you can move on to the hardwired connection.
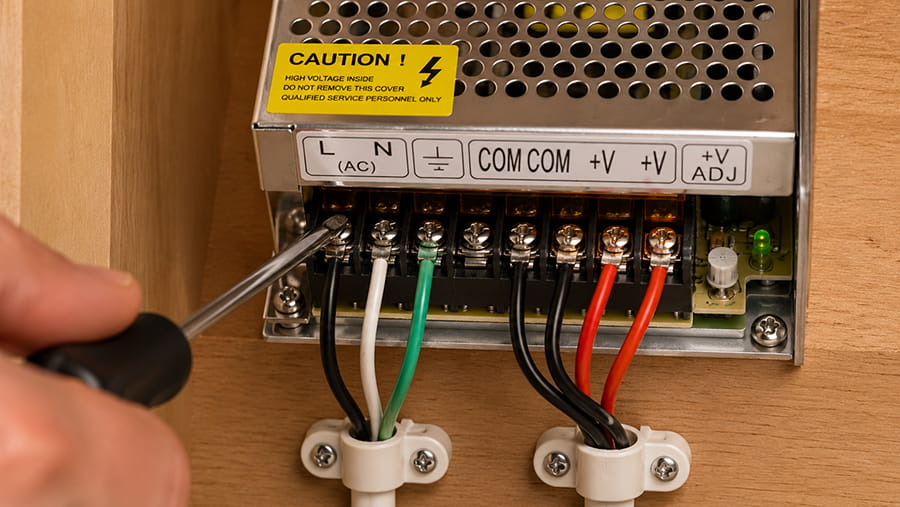
Many hardwired LED strip light installations connect the power supply to a home's electrical system rather than plugging into a standard outlet. The exact wiring method depends on the power supply, installation location and local electrical codes.
Always follow the manufacturer's instructions. Local electrical codes vary, always verify requirements or consult a licensed electrician.
Before you begin:
- Turn off power at the circuit breaker.
- Use a voltage tester to confirm the circuit is no longer live.
In many installations, you'll then connect the power supply following the wiring diagram provided by the manufacturer.
The mains input terminals are often labeled:
- Live (L)
- Neutral (N)
- Ground (⏚), if required
Once the mains wiring is complete, turn the breaker back on and reconnect the low-voltage output to your controller or LED strip and test the system according to the manufacturer's instructions.
Step 4: Mount the LED Strip
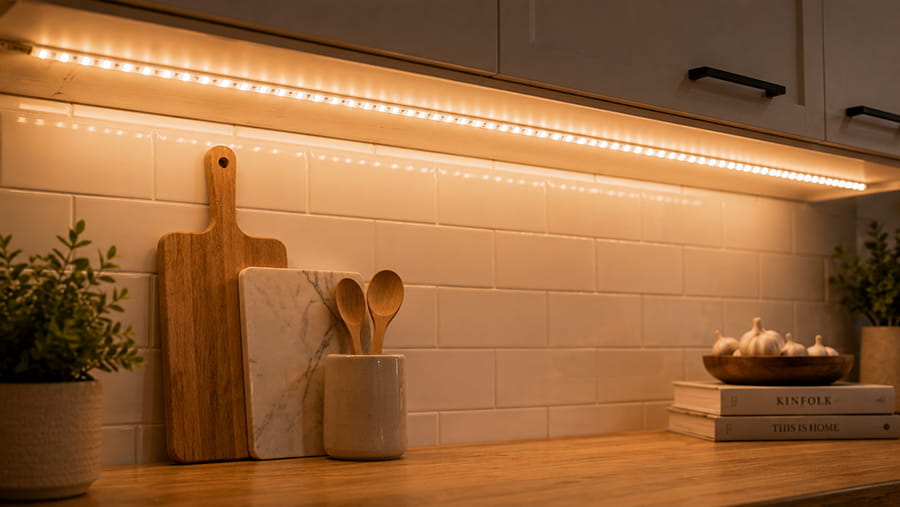
Often LED strip lights come with adhesive backing to make it easy to stick to a wall, under a bed, or even under a cabinet.
For the best bond:
- Clean the surface thoroughly
- Allow to dry completely
- Remove the adhesive backing
- Press firmly along the entire strip
That's all there is to it. Once everything is mounted and working properly, all that's left to do is sit back and enjoy your new lighting.
Common LED Strip Light Installation Mistakes
Before you finish your project, keep in mind these seven common installation mistakes. Avoiding them now can save you time, money and frustration later.
- Choosing the wrong voltage power supply
- Buying a power supply that’s too small
- Cutting the strip in the wrong place
- Installing before testing
- Applying strips to dirty surfaces
- Forgetting to measure before ordering
- Using indoor-rated components outdoors
A quick check before installation, or even better before ordering, helps with a smoother, safer setup.
LED Strips for the Win
Now you know how to choose the correct power supply, calculate wattage and amperage requirements, and install your hardwired low voltage LED strip lights with confidence.
Time to get glowing? Browse our range of LED strip lights, controllers and 12V or 24V strip light accessories to start building a hardwired lighting system.
If you're unsure which products you need, our lighting experts are happy to help.
Sources
- Energy Start Upgrade Your Lighting