How to Hang Rope Lights: Instructions You Should Follow
11/11/19
It’s no secret that lighting has a strong impact on our mood, energy, and our ability to concentrate. The way you choose to light your home inside and out will also impact its overall ambiance and curb appeal.
One of the most effective and least expensive ways to add mood lighting to your home is by incorporating LED rope lights into your design plans. There are a ton of ways to use rope lights, it just takes a little bit of creativity.
Are you concerned that this might be too big of a project for you to take on? No worries! Once you learn how to hang rope lights, you’ll see that it’s easier than you think.
Let’s get started!
Safety First: Important Tips You Need to Know
It’s always important to go through basic safety tips before starting any home improvement project. Here’s what you need to know so you don’t hurt yourself during the installation process.
- Before you cut, install, or modify your rope lights, always make sure they’re unplugged.
- Don’t plug in your rope light until it’s unrolled. Otherwise, it can melt.
- Don’t cut your rope lights anywhere but on the designated cut marks.
- Make sure your light end cap is in place before you plug in your rope lights.
- Don’t cut or damage the outer plastic casing. This can cause a fire or electrical hazard.
- Beware of pulling or stretching your rope lights. Doing so can damage the internal wires.
The next step is to understand the anatomy of your rope lights so you’re comfortable before you start the hanging process.
Rope Light Anatomy
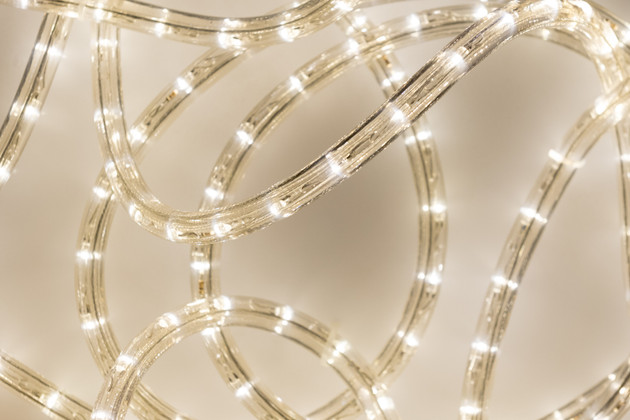
A rope light is made of a series of light bulbs attached to a wire which is held inside a protective plastic tube. The lights may be LED or incandescent.
Rope lights are made of four main parts: the power cord, power connector, the rope lights themselves, and the end cap. The power cord is used to plug the lights into an outlet. This allows the string of lights to turn on.
The connector is made of metal pins that insert into the power cord, connecting it to the rope light. Finally, the end cap is placed at the end of the rope light to terminate the run. This protects the rope lights from damage and debris.
How to Hang Rope Lights in 7 Simple Steps
Now that we’ve got the basics down, it’s time to take a look at how to hang your rope lights. Follow these seven simple steps and soon you’ll feel like a light-hanging pro!
1. Decide Where You Want to Hang Your Lights
Deciding what to do with your rope lights is the fun part! Need some inspiration? Try searching on Pinterest – you’ll find a ton of great ideas there.
Once you’ve chosen a project, decide where you’ll put your lights up. Some of the most common options are the kitchen, bedroom, or outdoor living space.
2. Figure Out How Much Rope Lighting You Need
Measure out the area you’ve chosen and determine exactly how much rope lighting you need. Although you can put smaller pieces together, if possible, it’s usually better to buy enough rope lighting so you can complete your project with a single string.
3. Install Plastic Cable Clips
Choose plastic cable clips that are the right diameter for the rope lighting you’ve purchased. Then nail them along the lines where you want to hang your rope lights.
Space the clips out about four to six inches apart. Also, only hammer the nails into the wall half-way. This will give you the ability to slide the clips up and down as needed.
4. Place the Rope Inside the Clips
Now you’re ready to unroll the rope lights and place them inside the cable clips. Depending on the layout of your design, you might be able to slide them in or you’ll need to slide them through like a snake. Either way, make sure all of your lights are in place before moving on to the next step.
5. Nail Down Your Cable Clips
Now that everything is set up the way you want it, go ahead and hammer all of your nails the rest of the way down. Make sure the lights are secure but don’t hammer the nails in so tight that the clips crush the rope lights.
6. Plug in Your Rope Lights
In many cases, your design will look much better if you use an extension cord to reach the outlet instead of running the rope lights all the way down to it. Plug the rope light into the extension cord and plug the extension cord into the wall outlet.
7. Turn on Your Lights and Enjoy!
Depending on your layout and the type of rope lighting you choose to use, there are different methods for turning your lights on and off. The cheapest ones will require you to plug and unplug them by hand. In this case, you could also connect them to an outlet that’s controlled by a switch.
Some higher-quality rope lights also come with their own on/off switch. If you choose this type, now is the time to test it.
That’s it! Go ahead and kick back, relax, and enjoy your beautiful new lighting design!
Now It’s Time to Get Creative
Now that you know how to hang rope lights, it’s time to get creative with your outdoor décor! It might be hard to believe right now, but the holidays are right around the corner. Start getting ready by reading this article about 10 Creative Ideas for Outdoor Holiday Lights.
Once you’re done, check out our wide selection of rope lights so you can get started on your next project!


