

DIY LED Tea Light Mason Jar Lights
By Chrissey Sherman – 11/10/14

Mason jars add a unique flair to any decor. Check out this great project to add some color and light to your home or garden with LED tea lights and mason jars. Things you will need:
- Mason Jars
- Aluminum foil
- Wax paper
- Baking sheet
- Water
- Plastic spoon or craft stick
- Led candle lights (You can purchase them here: birddogdistributing.com)
- Craft glue (Elmer’s glue or Mod Podge should work)
- Liquid food coloring
- Glass frosting spray
To Assemble: 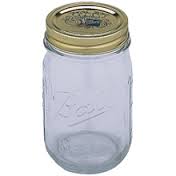 Remove lids and set aside. Take the first jar you want to use and add craft glue to the bottom. Just pour it in about two tablespoons to start with. Adding a few drops of water can help the glue roll around smoothly. You don’t want to overdo it too much with either, since you could end up with streaky jars. Just add a bit of each at a time and you’ll figure out the right amount as you go. The consistency should be like wet latex paint. Next, you’ll add your food coloring. The amount of food coloring to use will depend on how dark you want the colors, more food coloring will create more vibrant colors and less will create more pastel colors. Colors can be mixed to achieve different results. Use a craft stick or plastic spoon to mix your food coloring and glue. Mix it really well – you want a nice, even color. Unmixed color/glue will show up as streaks in your final product. Then tilt the jar so that your glue mixture covers the entire inside of the jar. This is where you’ll find out if you used too little glue, or too much. You can correct it if you used too little at this stage by adding more glue if you need to. Once you’ve got the inside completely covered (any mixture that ended up on the outer rim of the glass can simply be wiped off with a paper towel), place the jar upside down on wax paper and let sit for 5-10 minutes. This will rid your jar of the excess mixture before baking. Repeat the process until you’ve coated as many jars as you want to make. You might have some duds in your first batch so you may want to have the supplies to make a few extras. Once you’ve finished coating the inside of all the jars, it’s time to bake! Put your jars upside down on a foil-lined baking sheet (you don’t want glue on your baking sheet; it’ll never come off). Place in a pre-heated 200-degree oven. Bake them for around 20 minutes total. Note: Ten minutes into the baking, pull them (carefully) out with an oven mitt THEY WILL BE VERY HOT, turn over and wipe off the excess goop around the outer rim of the jar. You have to turn them over at this point or you’ll end up with streaks and uneven coloring. After about 20 total minutes, you’ll be able to tell if your jars are done. If there are any streaks or hot bubbling glue, you can leave them in a bit longer, check every five minutes. They will be SUPER HOT, so make sure you let them cool for a while before handling! If you want to use your jars outdoors, you will need to add a clear sealant to the inside of the jars after they finish baking and cooling. Even after baking, water will affect the glue mixture and the color.
 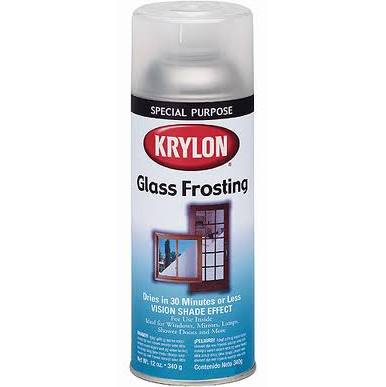 Spray outside of jar with the spray frosting in nice even coats. Once that has dried, turn on lights and place LED candle lights in the bottom of the jar and replace the lid.
 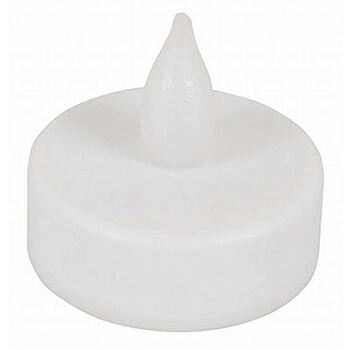 Hang with floral wire or use as a tabletop light.